Showing posts with label Hair. Show all posts

14/04/2015

A Very Special Engagement Party | Lifestyle

Shoes - Zara $120 // Dress - Bardot $80 (sale) // Earrings - Old // Flower Ring - Old // Rings - Pandora (gift)


hair & makeup by me

the lucky couple

family x

Last weekend we celebrated the engagement of my beautiful little sister and her fiancé. We had such a fantastic night and wish them all the best for the future x


20/02/2015

The Body Shop Wild Argan Oil | First Impressions


You may remember I received this pack from The Body Shop from my amazing boyfriend for my birthday last year. I have been slowly working my way through the products and there are a few I would definitely purchase again.

One of these products is the Wild Argan Oil for skin and hair. Whilst I haven't tried this product on my skin as yet, I have been using it my hair recently and I am absolutely loving the result! I love trying to leave my hair as naturally curly as possible, however it tends to frizz quite badly throughout the day.

I have been using the Spray Gel for Curls by Toni & Guy on my hair for a few months now. I still love this product, however as much as it makes my curls stand out it doesn't have that all day protection from the frizz!

The pictures below show my third day curls using The Body Shop's Wild Argan Oil. I have never used a product that makes my hair stay this nice for so long! All I do in the morning is get up and go - no styling needed.


One of the things I really love about this product is that although it is an oil, it doesn't make my hair feel or look oily (as long as you keep it away from your roots!)

One spray on each side is enough to keep my hair frizz free for a good couple of days.

Have you every tried the Wild Argan Oil from The Body Shop before? I would love to know which products you use to help keep the frizz away!

What I'm Wearing
Crocheted Dress (Blazae- a few years ago)

xx

13/06/2014

On Trend | Boho Crown Braid


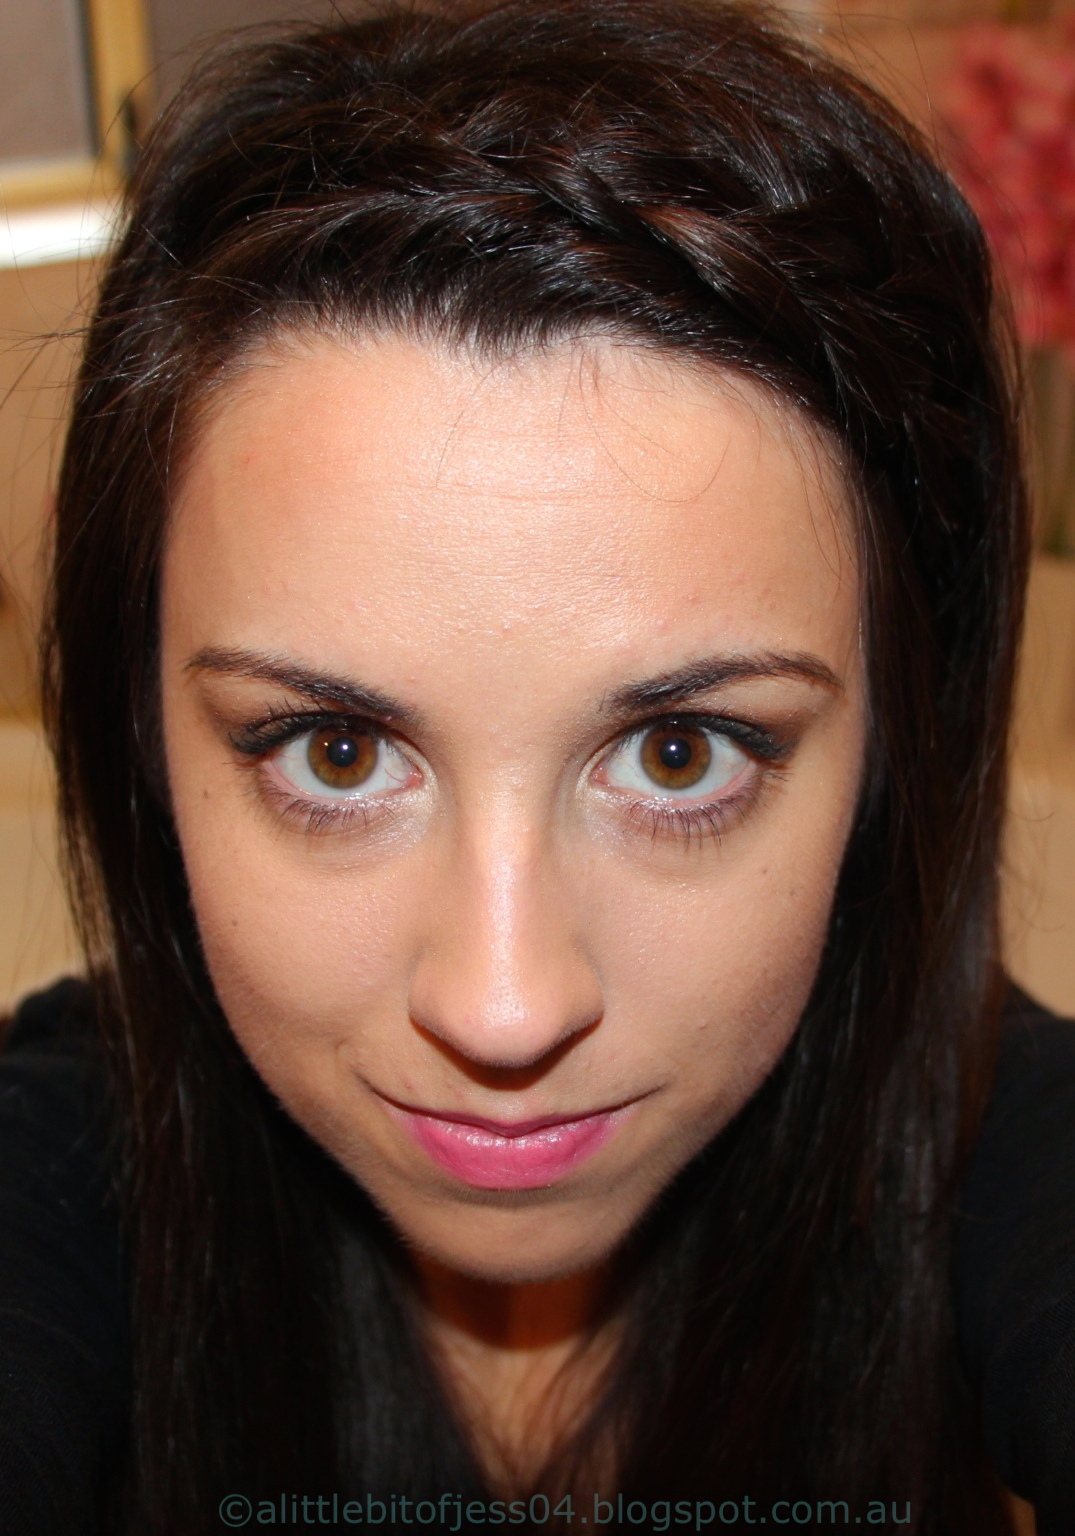
The Boho Crown Braid has been a huge hit with bloggers / YouTubers in the Northern Hemisphere coming into summer and I know it will be very popular in Australia later in the year. I must admit, I was a bit unsure about this hairstyle when I first saw it as it reminded me of the milkmaid braids (which suit some!) but are not really to my taste. However I have definitely grown to love it and having recently tried it out myself, it will become a hairstyle staple during spring and summer.


There are a few things I really love about this hairstyle. Unlike a bun which can start to feel heavy and pull on your head throughout the day, the crown braid is light and loose which makes it a comfortable hairstyle to wear all day / night. It is also a perfect hairstyle for both casual and more formal occasions as it can be dressed up or dressed down.


I have seen a few different variations when it comes to creating this hairstyle, but my favourite is this one from Kayley (aka letsmakeitup1.) I love her tutorials (she is the queen of braids) and her videos and instructions are always easy to follow.


Because I have colour through the ends of my hair (you can see my post about it here) the braid has a lot more texture which makes it look much more three dimensional. If your hair is one colour and you would like to know how to create more texture, The Beauty Department has a great post on creating more texture for braids using coloured hair extensions (perfect for a formal look)

What are your thoughts on the Boho Crown Braid? Would you try this out for summer?

- J x

Please click here to see my disclaimer policy.
facebook // twitter // pinterest // ravelry // bloglovin' // etsy


17/04/2014

Advice | Colouring Your Hair for the First Time

I finally took the plunge and coloured my hair. Yes - I made it into my 20's with my natural hair colour! I have never been interested in colouring my hair as I really like the colour of it! It is slightly darker in winter which is great and in summer I get slight blond / red streaks in my hair.

For a while now, I have been wanting something different with my hair. I have the thickest hair and I cannot cut it because I will look like a triangle head (picture Grug on my head! And if you have never heard of Grug then shame on you!) I really like the sublte ombre look so I headed to Pinterest to find some inspiration.

image from pinterest

image from pinterest (cannot find the link sorry)
I really liked both of these looks but it is a bit too much blond for what I was after.
Then I found this one and loved it! It is subtle enough not to be too blonde, but gives the hair a little bit of colour and definition.
subtle brunette ombre. I always say I wouldn't color my hair unless it was the slightest subtlest ombre. Not blonde just a lighter brown
Image from Pinterest
Here is my hair during and after!


My hairdresser used a "mocha" coloured brown on the ends because it was a much warmer tone than blonde and blended nicely with my original colour. One of the things I really loved was that because I had not coloured my hair previously, she was able to use a toner and not bleach! 
Below are a few of my tips on colouring your hair for the first time.
1. Find a few pictures of colour / looks you like. 
It is better to have a few as one may not be perfect for your hair. Make sure you show them to your hairdresser so that you are both on the same page.
2. Less is more.
My hairdresser agreed that the above colour was a good idea as it is not too much colour for a first timer, and because it is not near the roots I can grow it out easily. It is also more manageable as I will not have to tend to the colour as often.

3. Talk to your hairdresser. 
As step 2 shows, they will know what will look good and what won't on your hair. 

4. Trust your hairdresser.
I think this is one of the most important things when it comes to doing something different with your hair. If you are not sure your hairdresser will do the greatest job, or that they won't be honest with their opinions (see step 3), I suggest you look elsewhere. I fully trust my hairdresser (I have been going to her since the early 2000s) and knew she would do what is best for my hair and make it look great. 

Do you colour your hair or is it still natural? I was so scared to take the step of colouring my hair but I am so glad I did! 

- J x


Please click here to see my disclaimer policy.
facebook // twitter // pinterest // ravelry // bloglovin' // etsy

13/03/2014

Wine Tour | McLaren Vale

Last week my girlfriends and I went on a wine tour to the beautiful McLaren Vale wine region. If you are ever in South Australia (the wine state!) I suggest you definitely check out McLaren Vale as it is such a pretty town.

I am not really a wine drinker, but I had the best day visiting four of the many wineries in McLaren Vale. We had such a lovely day for it!

I wore a cute floral dress from Jeans West with the hat I purchased from a Newsagent in Coolangatta and flat white sandles.


A few snaps from the day...

Our first stop...d'Arenberg - such a gorgeous view over Willunga
 

Hugo Wines...small but cute - and nice wines!
 

A great place for photos with the beautiful vines at Parri Estate

It was really nice to get out with the girls and do something different. We also stopped off at Woodstock Wine Estate for yummy lunch of regional platters (and more wine tasting!) I would definitely reccommend McLaren Vale if you are in South Australia and you are looking for something to do (even if it is not wine tasting!)

- J x

Please click here to see my disclaimer policy.


18/02/2014

Vision Board | DIY

I purchased this cork board from somewhere like The Reject Shop or Cheap as Chips (for around $2 or $3) a few years ago and have never really used it. I was inspired by Kristina Karlsson's (Founder of Kikki-K) blog post about her vision board and decided the cork board would be perfect for making my own vision board! You can purchase a vision board from Kikki-K, however if you would like to make one much cheaper, keep reading!

This project is really easy. You will need:


- Cork board with frame
- Paint
- Mod Podge (Matt or Gloss depending on your personal preferences. I am using Matt)
- Sponge brush (side note: I am loving these for craft projects at the moment. They spread the product evenly and are so easy to clean!
- Paper to decorate the frame
- Pins 
- The items you would like to put on your board.

Step 1 | (optional) Paint the cork board the colour of your choice. I chose Antique White.


Step 2 | Cut out the paper you will need to decorate the frame (strips of around 5cm wide)


Step 3 | Apply the Mod Podge to the back of the paper and stick it on to the frame


Step 4 | Once you have covered the whole frame, give it a top coat of Mod Podge to seal it.


Step 5 | Decorate your board! (In progress!) 


It really is that simple. The best thing is you can change the images whenever you like!

Do you have a vision board or something similar? 

- J x

Please click here to see my disclaimer policy.

03/11/2013

Favourite Products | October

I have been loving these products this month, so much so that I wanted to share them with you!


Nivea in-shower Body Lotion
This stuff is absolutely amazing! And it also means I don't forget to moisturise after I hop out of the shower. Once you have cleansed your body / shaved, apply this while you are still in the shower and then rinse off. Once you have dried yourself, it will leave your skin feeling silky smooth. I am always skeptical of products like this, but safe to say this one actually works!


Napoleon Perdis Rainbow Eye Palette
I actually picked up this eyeshadow palette in a promotion Westfield were running, where you received the palette free if you spent $120 or more in selected stores - so I am not sure if you can actually purchase this product or not. I am a massive fan of Napoleon Perdis makeup, and this palette is no exception. The colours are stunning and I know I would wear most of them. They are stunning on the eyelid - a tad shimmery - and last all day.


Lee Stafford Argon Oil - from Morocco
This is not the first time I have mentioned this beauty on my blog, but I seriously cannot get enough of it! It makes my hair look amazing, especially if I decide to keep my hair naturally curly. This product also keeps my fly-aways under control no matter how I have styles my hair.

What products are you loving at the moment?

- J x

Please click here to see my disclaimer policy.


22/07/2013

Work Hairstyles | Vol 2


I have been wearing these hairstyles a lot lately. I love them because they are so easy and they take no time in the mornings to do. They are also great because they keep the hair out of my face and I don't have to worry about them for the whole day.
 
For these hairstyles you will need...


- Hair Elastic
- Bobby Pins
- Hairspray (optional)
 
NB: These hairstyles all incorporate braids. If you are unsure how to braid, this video from Kayley at Letsmakeitup1 will show you a few basic braids and how to achieve them.
 
Hairstyle 1 | Braided Fringe
 
Step 1. Part your hair to the far right / left (depending on which side you have your fringe on)
 
 
Step 2. You can either dutch braid or french braid your fringe until the side of your forehead. From here, continue plaiting your fringe until just above your ear.
 
Step 3. Lift your hair above your ear and pin the braid above the ear, using 2 bobby pins crossed over each other to keep the braid in place.


Step 3. Let your hair back down again so that it covers the braid and the bobby pins and you are done!


 Hairstyle 2 | Braided Fringe & Pony Tail
 
Follow the steps for hairstyle 1, but put your hair up into a pony tail. If you have any funny bumps behind the braid, just bobby pin them down.


Hairstyle 3 | French Braid into a Bun


 Step 1. Start your braid from the opposite side to your fringe and french braid the hair diagonally to the other side, stopping when you reach the side of your head. You want to braid pretty tight and then loosen off after to give it more texture.
 
Step 2. Put the rest of your hair into a side messy bun and pin if needed to keep it in place  


Hope you enjoy these hairstyles! I'm sure there will be another instalment soon. Click here for Vol 1.
 
- J x


04/07/2013

On Trend | How to Wear Knitted Headbands


Knitted headbands are the in thing this winter. They are great for keeping your ears warm without having a beanie on your head. You may have seen me mention these twisted knitted headbands that I made in a previous post. Today I'm going to show you a few different ways you can wear them.
 

Look 1 | Boho

 
Step 1. Part your hair in the middle
 
 
Step 2. Put the headband over your hair and tuck in any strays
 
 
And your done!


Look 2 | Fringe Out

 
Step 1. If you have a fringe, make sure you style it how you would like it to sit.
 
Step 2. Place the headband behind your fringe.
 
Your done!
 
 
Both of these looks would also look great with curly or wavy hair.


Look 3 | Pony Tail or Bun

 
Step 1. Style your hair in a pony tail or bun. These headbands look cuter with a high pony tail or bun.
 
Step 2. Place the headband on the head.
 
Your done!
 
 
They are such a versatile accessory, and can be worn both casually and more dressed up.
 
- J x