Showing posts with label Tutorial. Show all posts

21/05/2015

Pleated Skirt | Fashion


I really needed a few new work skirts, so I was excited when I came across this Super easy box pleated skirt tutorial. Miranda from One Little Minute Blog makes this skirt so easy to make with her easy to follow tutorial - colour pictures and all!

I love how easy it is to make a number of different outfits with this skirt. It is so versitile and I get so many comments on it when I wear it. 

If you have been reading the blog for a while you might have come across my love for invisible zippers. They not only make this skirt super easy to get on (considering it is high waisted) but looks great!

I used a cotton duck drill for this skirt which helps the pleats to sit properly. I will definitely be making more of these in the future. The only thing I do not like about this material is it attracts a lot of fibres.

Have you made a box pleated skirt before? I would love to hear your tips!


18/02/2014

Vision Board | DIY

I purchased this cork board from somewhere like The Reject Shop or Cheap as Chips (for around $2 or $3) a few years ago and have never really used it. I was inspired by Kristina Karlsson's (Founder of Kikki-K) blog post about her vision board and decided the cork board would be perfect for making my own vision board! You can purchase a vision board from Kikki-K, however if you would like to make one much cheaper, keep reading!

This project is really easy. You will need:


- Cork board with frame
- Paint
- Mod Podge (Matt or Gloss depending on your personal preferences. I am using Matt)
- Sponge brush (side note: I am loving these for craft projects at the moment. They spread the product evenly and are so easy to clean!
- Paper to decorate the frame
- Pins 
- The items you would like to put on your board.

Step 1 | (optional) Paint the cork board the colour of your choice. I chose Antique White.


Step 2 | Cut out the paper you will need to decorate the frame (strips of around 5cm wide)


Step 3 | Apply the Mod Podge to the back of the paper and stick it on to the frame


Step 4 | Once you have covered the whole frame, give it a top coat of Mod Podge to seal it.


Step 5 | Decorate your board! (In progress!) 


It really is that simple. The best thing is you can change the images whenever you like!

Do you have a vision board or something similar? 

- J x

Please click here to see my disclaimer policy.

22/11/2013

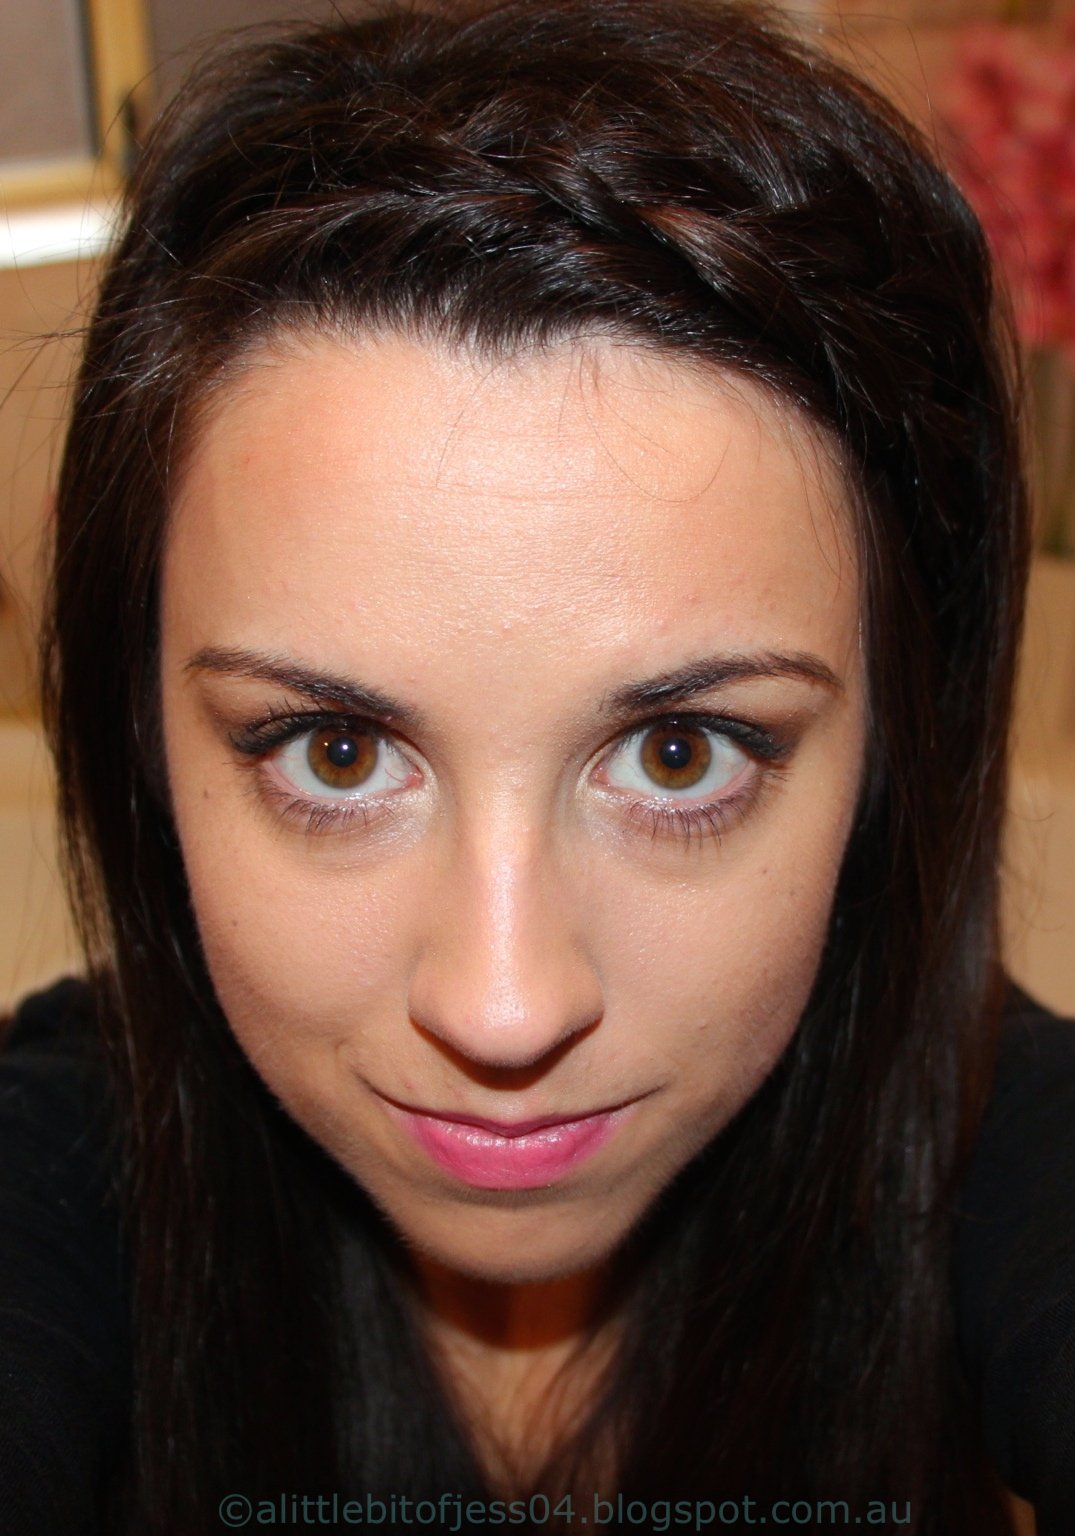
Date Night | Eye Look


This simple pink smokey eye is perfect for a date night with your other half. It is so easy to achieve! Scroll down to find out how.

Step 1 | Sweep a shimmery cream colour over your entire lid.


Step 2 | Using a light pink shade, apply this to 2/3rds of the lid including the crease.


 Step 3 | Use a slightly darker pink shade in the outer corner of the eye to give it more definition.


Step 4 | Line your top lashline with black liquid or gel eyeliner, and create a small flick at the end (optional). Using either a black or brown kohl pencil (for a more toned down look I used brown) line your lower and (optional) upper waterline.


Step 6 | Apply mascara to the top and bottom lashes and this look is complete!


This look would also be great for a more formal spring time day look.

- J x

Please click here to see my disclaimer policy.


04/09/2013

Tutorial | Knitting / Crochet Needle Holder

I have needed a new knitting needle holder for a while now as my needles have poked holes through the fabric in my old one! The problem with going out and buying a new holder, or buying one online is that it is not customisable for my specific needs. I looked through a few tutorials on Pinterest and decided to make up my own.

This tutorial is fully customisable to your needs - you don't need to do exactly what I did as you may want / need something different!

(NB: This is a bit of a long tutorial, but I wanted to be as detailed as possible!)

You will need...


- 3 x 50x55cm pieces of material (I chose to have 3 different colours, you can do what you like!)
*Fat Quarters would be perfect for this - this is what I used, you may recognise the fabric from this post*
- Matching Thread
- 1 x 50x55 iron on interfacing
- Scissors
- Pins
- Sewing Machine
- Iron & Ironing Board
- The items you want to include in your holder!

Step 1 | Before you start cutting the material and sewing, it is a good idea to draw a rough layout of how you want the inside to look. This means you are spending less time moving the objects around!


Step 2 | Lay all of your objects on the material and play around with the layout as needed. This allows you to see how big to make the holder. Cut off any excess or unwanted material (keep in mind your seam allowance - I used 1/4 inch)


Step 3 | Now its time to iron on the interfacing. You want to make sure that the "dots" on the interfacing are placed on the wrong side of the outside fabric (see photo below). Iron over the fabric to secure the interfacing.


Step 4 | Lay all of the things you want to include in your holder on your fabric again to decide on where you want to place the pockets (leave room if you think you will add more in the future!) The best way to decide on the height of your pockets is to make sure you can see the smallest item you have!


Step 6 | You will need to sew only where the RED lines are for now. I made a small mark at the top of the pocket so I knew where to sew. Don't do anything with the large bottom pocket for the moment. 


TIP | When you are sewing these lines, make sure you are lining up the mark you have made at the top of the material with the line on your sewing foot (where the arrow is pointing)


Step 7 | I hand sewed this skewer in to place for my place markers.


Step 8 | Sew the inside and outside of the holder together. First of all, line up the bottom pocket where you want it and pin it in place.


Step 9 | Place the outside material face down on the inside (right sides together). A good way to check you have done this right is to make sure the interfacing is showing, and you cannot see any pockets!

Step 10 | Sew only the where the red lines are (right side, top and left side) leave the bottom open for now.


TIP | I used a 1/4 inch seam allowance.


Step 11 | Now you need to sew the bottom of the large pocket. Flip the pocket so that it is turned inside out over the outside fabric (as shown below) and sew along the red line. You can then flip it back and your bottom pocket is nearly complete! 


Step 12 | Repeat Step 6 for the bottom pocket, sewing where the red lines are (where you have decided you would like pockets)


Step 13 | Finally, sew on your velcro. Make sure you do not sew over any existing material.


And you are complete! This has made my life so much easier and I definitely feel more organised.


I decided to make a new knitting bag to go with my holder. I used this pattern/tutorial from Noodlehead and I absolutely love it :) Big thanks to Michelle for buying the pattern and letting me use it!


I hope this tutorial has been helpful for you!

- J x

Please click here to see my disclaimer policy.

29/07/2013

Easy 1 Hour Skirt | Tutorial


I purchased the material for this skirt a couple of weeks ago and finally got around to making it this weekend. I really loved the fact I didn't have to hem the material!

It was really easy to make (even if your a beginner!) and probably took me 30 minutes - 1 hour to complete.

This skirt tutorial is very versitile, you could use it to make a pencil skirt, maxi skirt, short skirt..and the list goes on!


You will need...

- Knit material (how much you need depends on what kind of skirt your making!
- Matching thread
- Scissors
- Pins
- Elastic (decide where you want your skirt to sit i.e. hips, waist etc. and wrap the elastic around you to decide how much you will need. Always leave a bit more just incase)
- Sewing machine / overlocker (which ever you prefer)


Step 1 | Fold your material so that the right sides are together.


Step 2 | Place a favourite skirt on top of the folded material and cut around it, making sure to leave about 1/4 inch for your seam allowance. I did not cut along the bottom as I wanted to decide on the length later on.


Step 3 | Sew up the sides of the skirt. I tried the skirt on at this point to make sure it was fitting how I wanted it to. 


Step 4 | Once again, wrap the elastic around you and decide how much you will need. Then sew it together in a circle, overlapping the ends. Cut off any excess elastic


Step 5 |Time to attach the elastic to the skirt. This is the trickiest part of the skirt and also the hardest to explain, so I hope the pictures are helpful! You want to have the skirt the right way out, and attach the elastic to the outside of the skirt. The easiest way to do this is to line up the seam of the elastic circle with one side seam of the skirt, and place 4 pins around the elastic. You can then place more pins in between these ones. Do not be afraid to use a lot of pins in this step!


Step 6 | Sew the elastic and the skirt together. You will need to stretch the elastic as you are sewing to ensure there are no bumps in the material. Remember to sew slowly.

Step 9 | Fold the elastic inside the skirt and press it in place with your iron.


Step 10 | Try on the skirt again and decide how long you want it. Depending on your material, you will then need to hem it (I was lucky enough not to have to do it!)


And you are done :)

- J x

Please click here to see my disclaimer policy.

22/07/2013

Work Hairstyles | Vol 2


I have been wearing these hairstyles a lot lately. I love them because they are so easy and they take no time in the mornings to do. They are also great because they keep the hair out of my face and I don't have to worry about them for the whole day.
 
For these hairstyles you will need...


- Hair Elastic
- Bobby Pins
- Hairspray (optional)
 
NB: These hairstyles all incorporate braids. If you are unsure how to braid, this video from Kayley at Letsmakeitup1 will show you a few basic braids and how to achieve them.
 
Hairstyle 1 | Braided Fringe
 
Step 1. Part your hair to the far right / left (depending on which side you have your fringe on)
 
 
Step 2. You can either dutch braid or french braid your fringe until the side of your forehead. From here, continue plaiting your fringe until just above your ear.
 
Step 3. Lift your hair above your ear and pin the braid above the ear, using 2 bobby pins crossed over each other to keep the braid in place.


Step 3. Let your hair back down again so that it covers the braid and the bobby pins and you are done!


 Hairstyle 2 | Braided Fringe & Pony Tail
 
Follow the steps for hairstyle 1, but put your hair up into a pony tail. If you have any funny bumps behind the braid, just bobby pin them down.


Hairstyle 3 | French Braid into a Bun


 Step 1. Start your braid from the opposite side to your fringe and french braid the hair diagonally to the other side, stopping when you reach the side of your head. You want to braid pretty tight and then loosen off after to give it more texture.
 
Step 2. Put the rest of your hair into a side messy bun and pin if needed to keep it in place  


Hope you enjoy these hairstyles! I'm sure there will be another instalment soon. Click here for Vol 1.
 
- J x